Green Guides Native Gardens
 Your garden can be attractive aesthetically and ecologically when you use native plants. You can incorporate native plants into an existing garden, or you can create a garden from scratch.
Below are the 4 steps to a native garden:
- Understand your site and select appropriate plants. You need to know the amount of sun your intended garden receives. 6 hours or more of direct sun is full sun. 4-6 hours is considered part sun. 2-4 hours is
considered part shade, and 2 hours (the light should be dappled) or less is considered shade. We will assume you have the typical clay/loam Oak Park soil. Does water collect where you plan to put the garden? Or is it relatively dry? If it stays wet, in a depression
or is near a downspout, you can select plants that prefer more moisture. If it is a drier or hotter spot (near a sidewalk), you should select plants that prefer well-drained and dry soil. You can look at our Top Ten Lists for different conditions (under the Learn tab in the Main Menu). You can purchase plants from our Native Plant Sale or look at other plant resources here: Where to Get Native Plants. - Prepare the garden area. If you are removing lawn, there are two options. First, create the outline of your garden. You can physically remove the lawn by simply digging a few inches down, pull up strips of lawn, shake off the soil, and you can place the grass in a compost pile or even use as a kind of mulch if you place them with the roots up to the air. The second option is to create a lasagne bed, in which you lay down cardboard, wet it down, and then layer browns or greens or unfinished compost. Place mulch on top. In the spring, you will have a new garden.

- Place your plants in your garden in their pots and arrange until you are satisfied. Be sure to allow for them to mature and fill out. Plan for 12″ between narrow plants (like liatris) or 18″ inches for larger plants (like coneflowers). It is desirable to plant densely; plants support each other, shade out competing weeds, and offer cover for beneficial insects. Place shorter plants in the front, taller ones in the back. Plant in drifts (e.g. if you have 3 plants, plants them near each other as opposed to spaced out. Easier for pollinators and more aesthetically pleasing.) Once you are satisfied with your layout, plant them. Dig the hole a little deeper and wider than the pot or the root system. Gently tip the pot over to the side and ease the plant out. Place the plant into the hole, start to fill in the hole. After the hole is filled halfway, sprinkle some water to help the soil settle and reduce air pockets. Continue to backfill the soil, and keep a little berm around the plant to help hold and collect water around the plant. Water well. Generally, there is no need to fertilize.
- Monitor your plants. If your plant suffers transplant stress, you can place a container or something to help shade the plant from the sun until it has settled into its new home. Be sure to keep the area weeded and watered appropriately. All transplants will need watering on a regular basis for

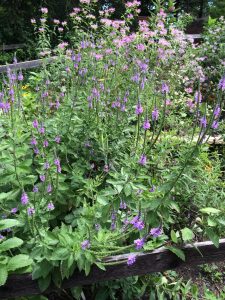
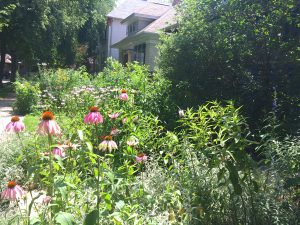
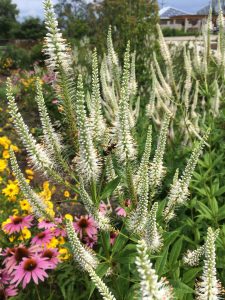
Culver’s Root, Purple Coneflower, Coreopsis the first month. If it’s hot and dry, you might need to water daily even for drought tolerant plants for the first week or so. Then you can try to water every other day. Then the third week see if you can stretch out to two full days, and continue till they no longer need supplemental irrigation. Mulch is essential at this stage of your garden to help conserve water, feed soil organisms, and suppress weeds. As your plants mature, keep the plant material in the garden and use a light layer of leaves as a mulch. They will naturally feed the soil organisms which then feed your plants as well as preserving beneficial insects that overwinter. Enjoy your garden, and the real satisfaction comes from watching all the changes and paying close attention to the life that will discover and flourish in your living landscape.
