
Monarch Garden and Other Kits Planting Tips

Thank you for purchasing one of our Kits! The plants will need a little TLC for a few weeks while they get settled and their root systems get established. We’ve written up these brief instructions to help you get them off to a great start.
Before planting:
- Make sure the plants are well-hydrated. This will give them a boost when being transplanted.
- If you can, try to plant on an overcast day or in the late afternoon/evening to give them some time without hot temperatures.
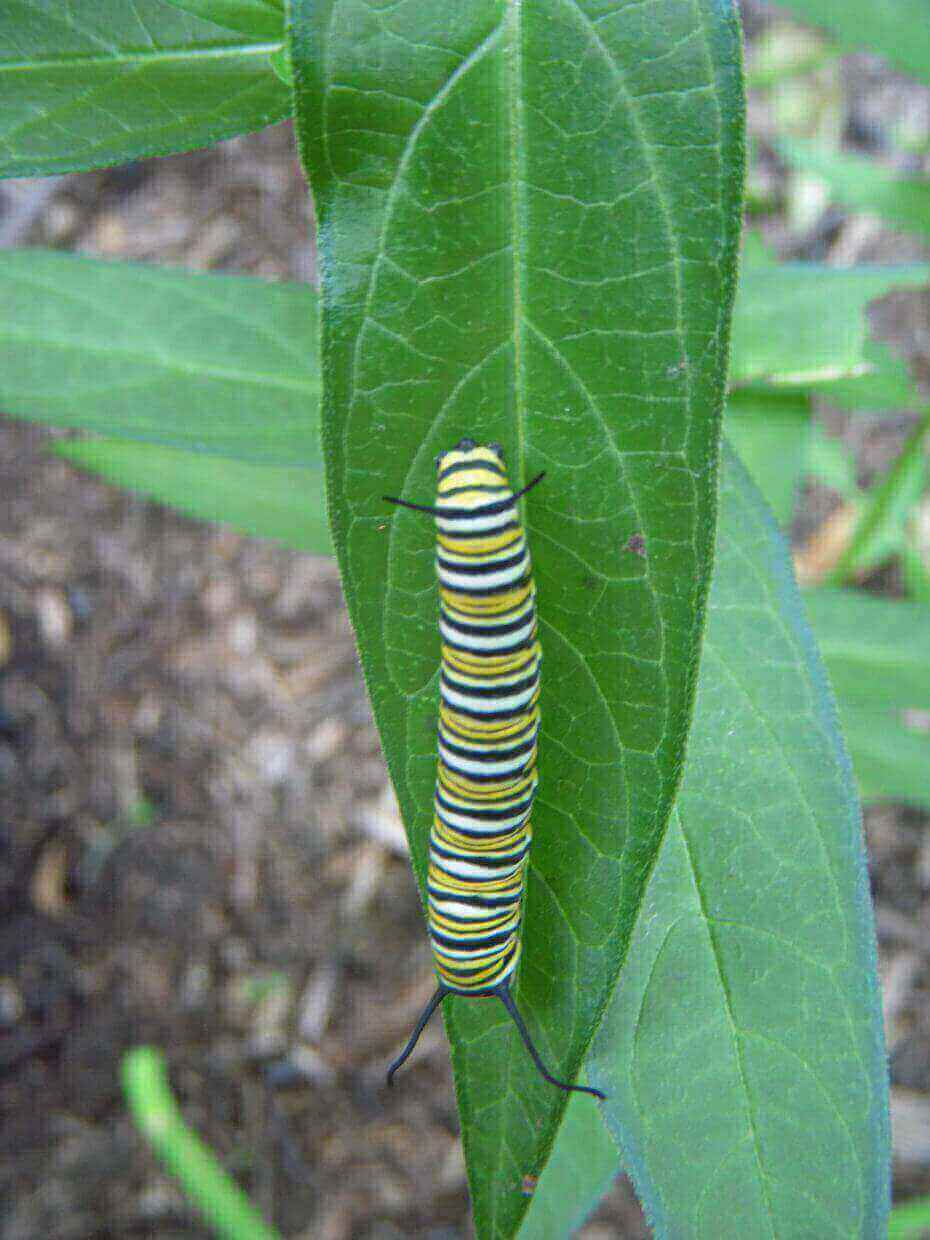
- For the Monarch and Bee kits, be sure that the spot where these plants are going get at least 4 hours of sunlight. 6 + is even better.
- For the Made in the Shade Kit, be sure it is indeed part-shade to shade. Dappled light is good, and most plants can take a couple of hours of sun, but they should not receive intense sun for longer than four hours, especially afternoon sun. Wild Geranium and Columbine are flexible in their sun tolerance, so if you have a shady spot that does happen to receive afternoon sun, they would be happy in that spot.
- For the Monarch Kit: Rose Milkweed, Little Bluestem, and Coneflower can go in the back of the garden; Old Field and Aromatic Aster (Aromatic does make a nice mounded clump, give it room) in the middle; the Cylindrical Liatris, Purple Prairie Clover should go in the front.
- For the Short and Sunny Bee Kit: Hairy Beardtongue, Coreopsis, and Silky Aster should go in the back; Shooting Stars and Pussytoes in the middle. Purple Lovegrass in the front.
- For the Made in the Shade Kit, the Aster and Goldenrod can go in the back; the Wild Geranium and Columbine can go in the middle, and the Wild Ginger, Penn Sedge, and Hepatica can be in the front. You could place the Hepatic slightly behind the Sedge or the Wild Ginger.
- Have mulch ready to go (dye-free mulch or leaf mulch is important). Leaves placed under regular hardwood shredded mulch is ideal. There’s no need to add compost or fertilizer.
Planting time:
- Dig out the hole, making sure it’s wide enough and at a depth equal to or slightly deeper than the plug of the plant
- Gently tip the plant out of its container; you might need to squeeze around the container to help loosen everything up. If you need to pull the plant out, try to push up through the holes in the bottom of the container, and then hold the bottom of the stem to gently ease the plant out. Loosen up roots if needed.
- Place the plant in the hole; the hole should be deep enough that the soil will cover the roots.
- Fill the hole halfway with soil. Water so that soil settles around the roots, and then continue to fill in with soil. Give one last watering. You can make a berm around the plant to help direct water to the root area.
- Mulch around the plant; be sure mulch does not pile up on the stem.
- If the plant wilts in direct sun, you can put up temporary shade (something like a large container or box that will throw shade on the plant) until it gets its systems back online.
After planting:
- Water well every day for the first few days. (A couple cups per plant; you should feel moisture in the soil an inch down or more.) Then go to every other day (keep an eye on your transplants and be sure they are doing ok, no drooping or withering) for the next week or so. Depending on the weather, you might need to keep up watering every few days for the first couple of months. After that, the plants should be ok without too much supplemental water (exception would be a water-loving plant in a dry spot).
- Keep the bed weeded and mulched.
- You may get blooms this year, but, depending on the species of plant, it can take up to three years for them to reach maturity.
Questions? E-mail us at [email protected], and we will get back to you within a day. Your purchase of a Monarch Kit and the nurturing of its plants will help to ensure the survival of the monarch butterfly and rescue this iconic species from the fate of extinction. Be sure to add your garden to the West Cook Wildlife Corridor. Details at westcook.wildones.org